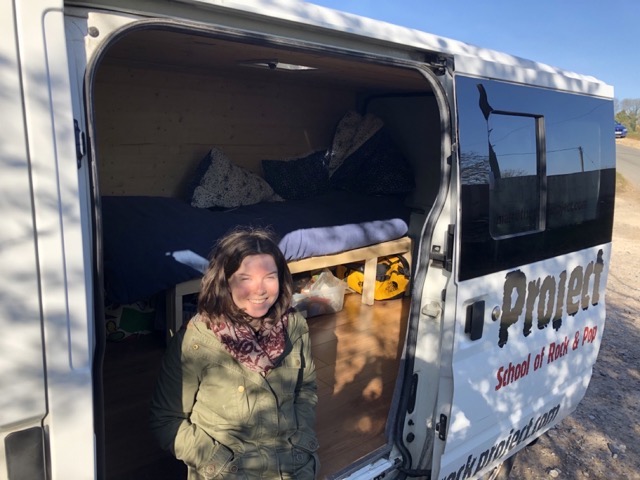
The Rock Project
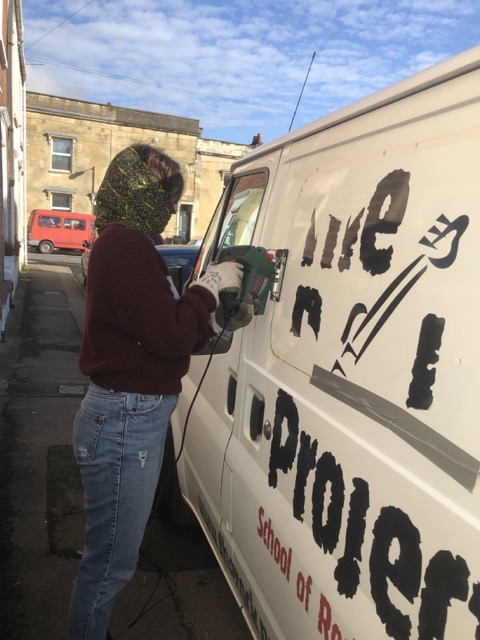
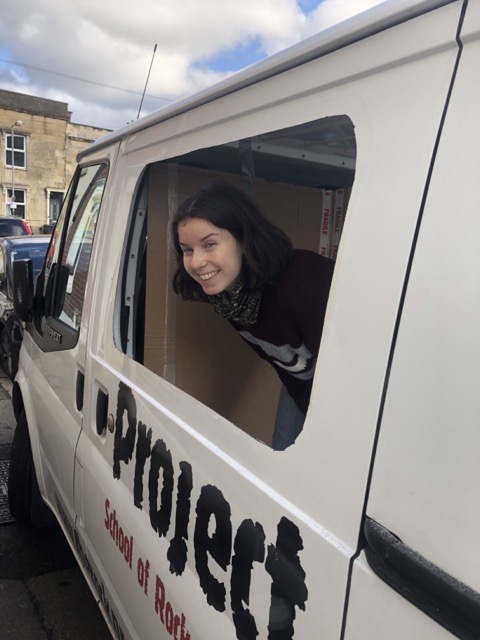
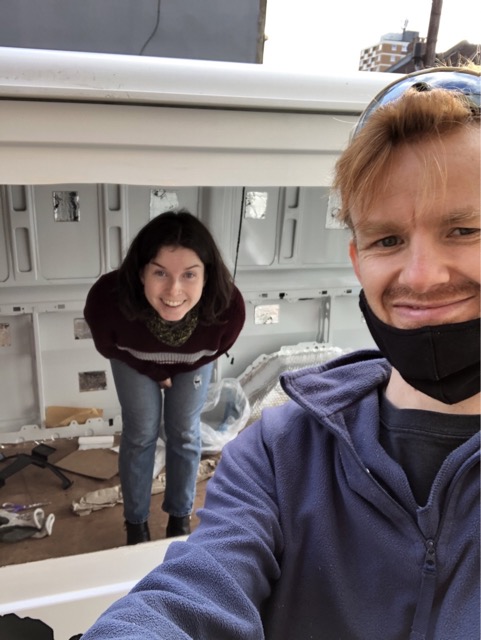
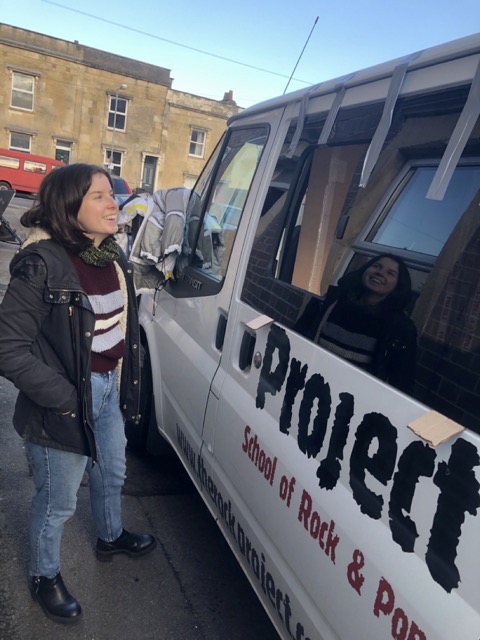
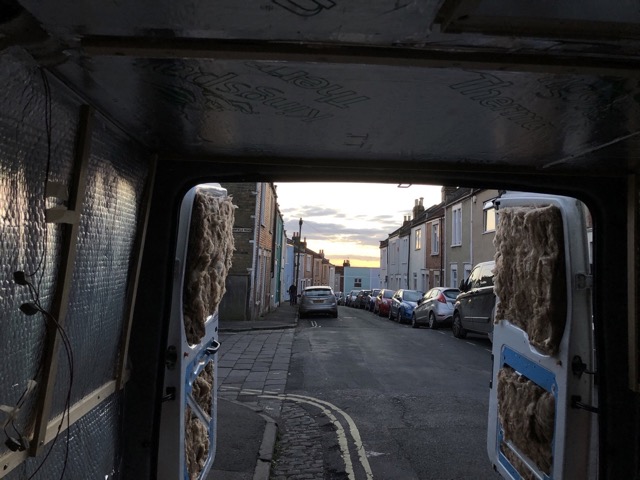
In December 2021 Lily and I bought a 2010 SWB Ford Transit. Over the next 6 months we converted it to a small but mighty camper that we lived in while touring France and Spain the following summer. We've been using it for trips around Scotland since. In its previous life, the van belonged to a franchisee of The Rock Project, hence the decals. Its spirit lives on, and here is a run-through of the conversion process.
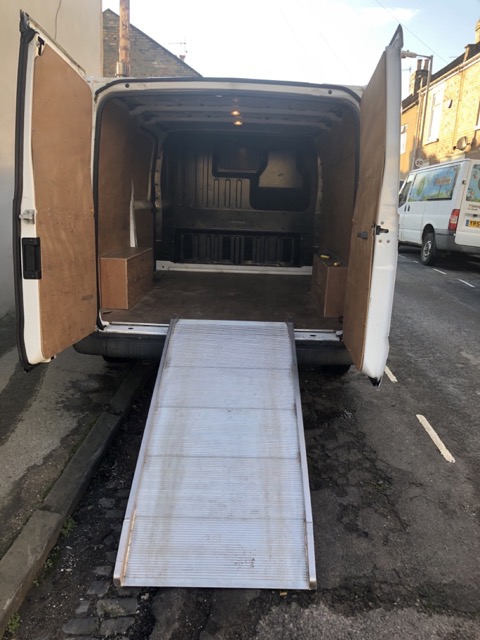
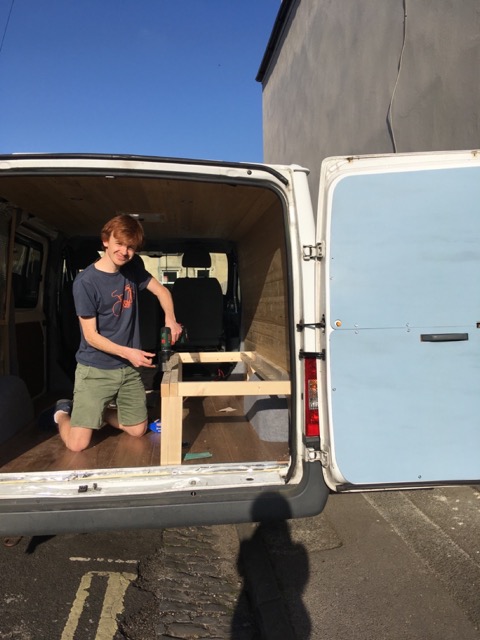
1. Clearout, subfloor and soundproofing
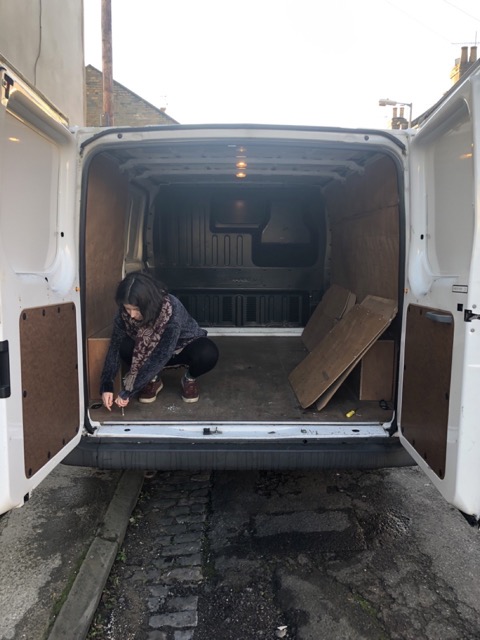

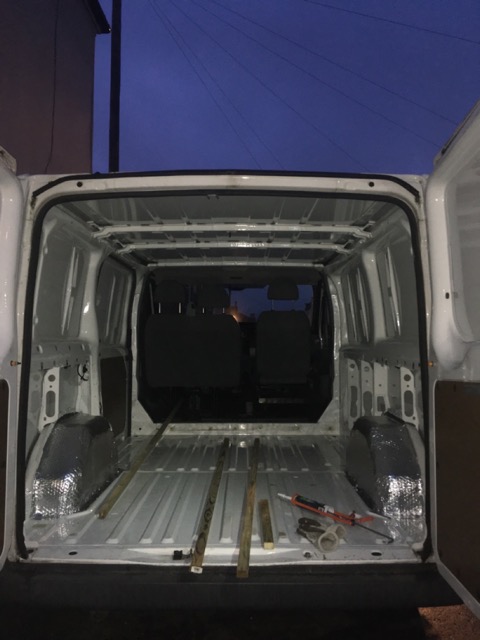
- Removed and sold bulkhead, sold ramp (bonus!).
- Removed ply lining, cleaned floor, de-rusted floor and wheel arches and repainted.
- Covered floor holes at base of bulkhead with fiberglass.
- Glued baton grid to floor and fixed Kingspan foam insulation in between with foil tape.
- Taped bubble wrap insulation over wheel arches.
- Re-used (after sanding down) original 12mm plywood flooring. Screwed into batons.
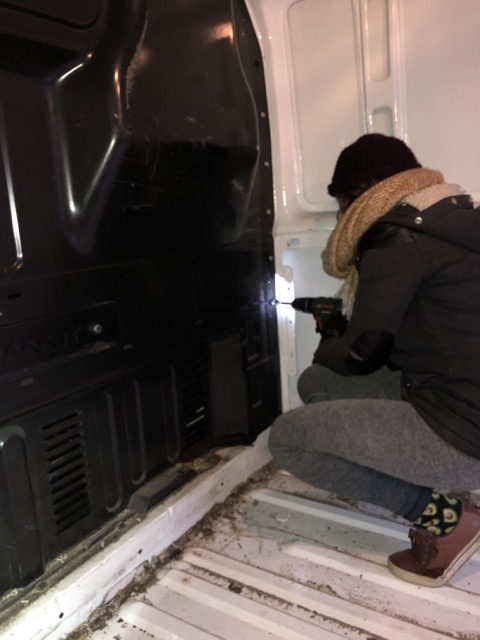
2. Roof vent and window
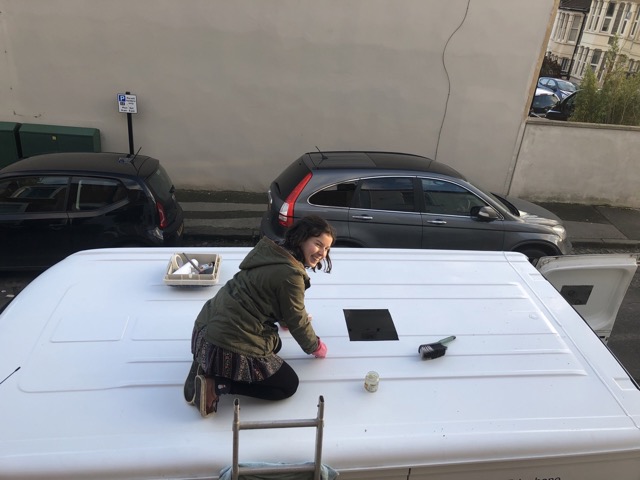
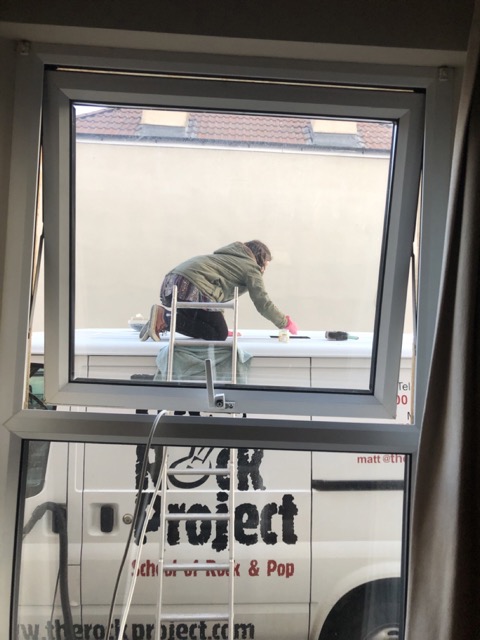
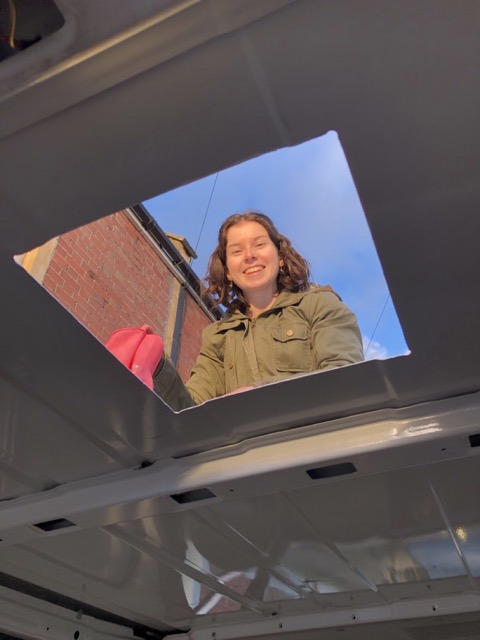
- Cut a hole for the Fiamma roof vent, filed down and painted edge, and fitted.
- Cut hole for window, filed down and painted edge, and fitted.
- Cleared all iron filings from van (including off the roof!).
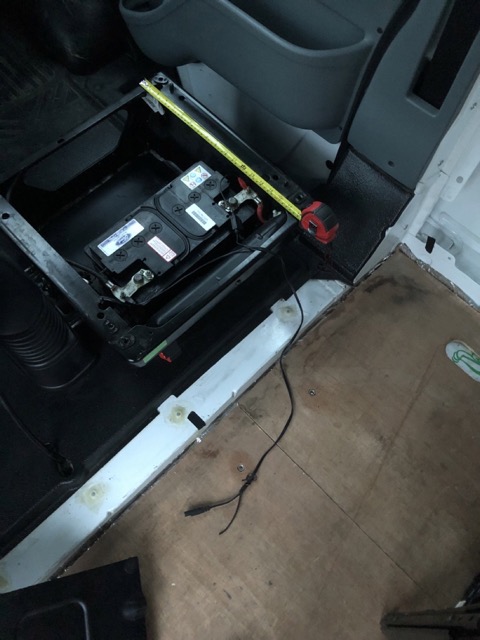
3. Solar panel, leisure battery and wiring
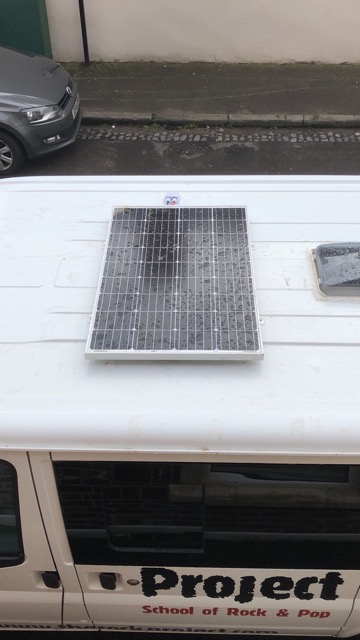
- Drilled holes for solar panel mounts, fitted solar panel.
- Drilled holes for cables and fitted rubber gromits.
- Passed cables through sealed cover and glued down.
- Installed leisure battery under driver's seat.
- Picked area behind driver's seat as location of electrics control board.
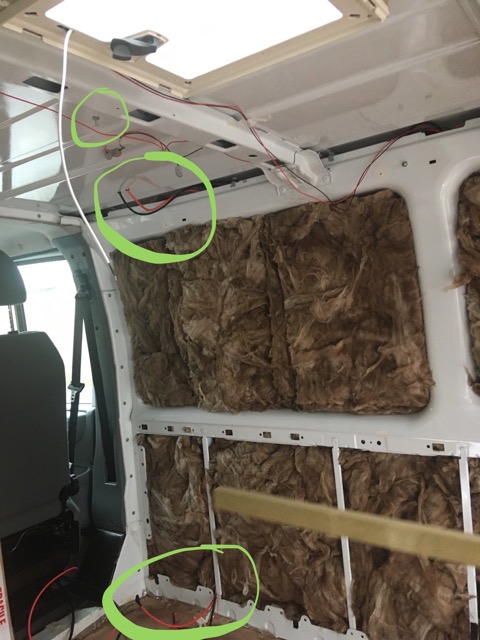
- Routed cables for solar panel, lesiure battery, roof lights and roof vent fan to this area.
Note: Electrics was tested at this point, but finishing off the electrics (inc. installing fuse box) was left until later.
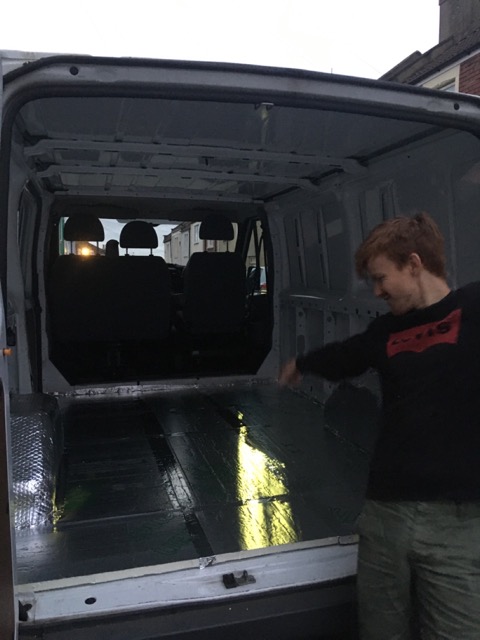
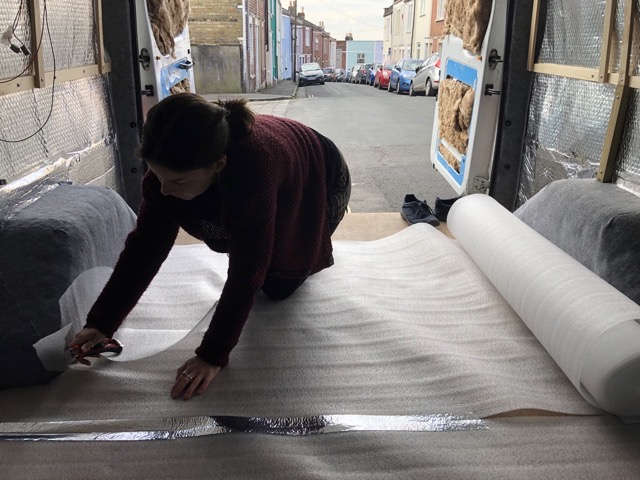
4. Wall, door and roof insulation, batons, carpeting
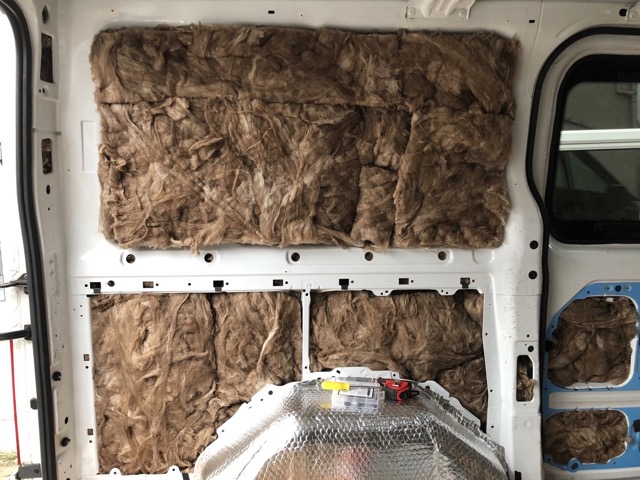
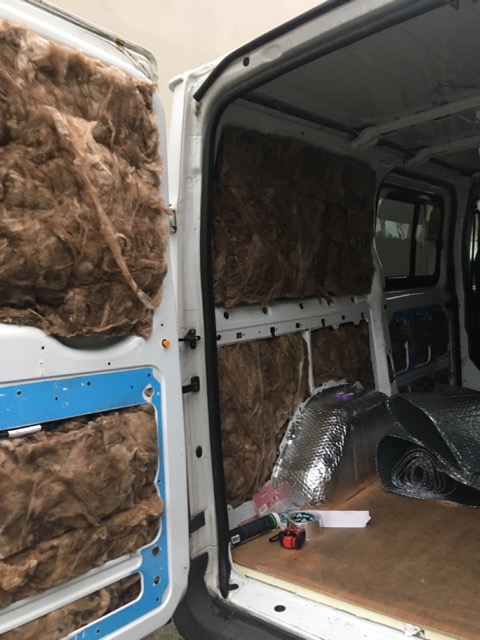
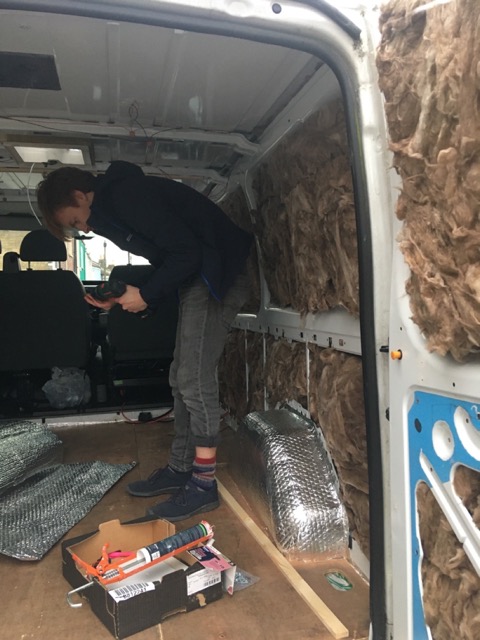

- Put glass mineral wool insulation in doors and along walls, using spray adhesive where needed.
- Covered walls with bubble wrap insulation.
- Screwed batons into walls.
- Screwed batons along ceiling ribs, fitted Kingspan foam insulation inbetween.
- Carpeted, using spray adhesive, exposed edges that wouldn't be covered by cladding, including wheel arches.
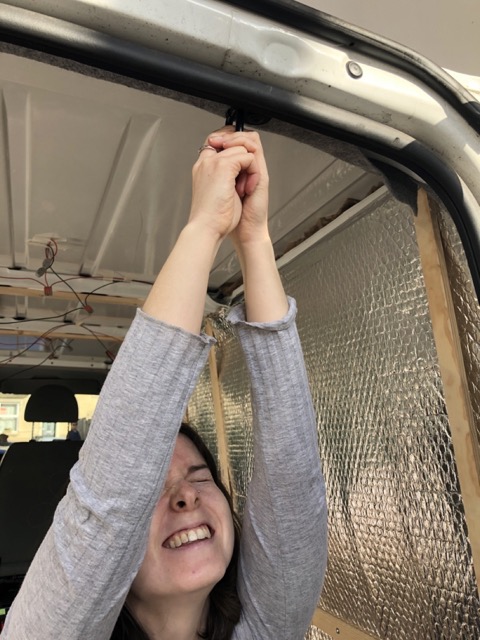
- Installed hammock hook, re-using original floor fixing.
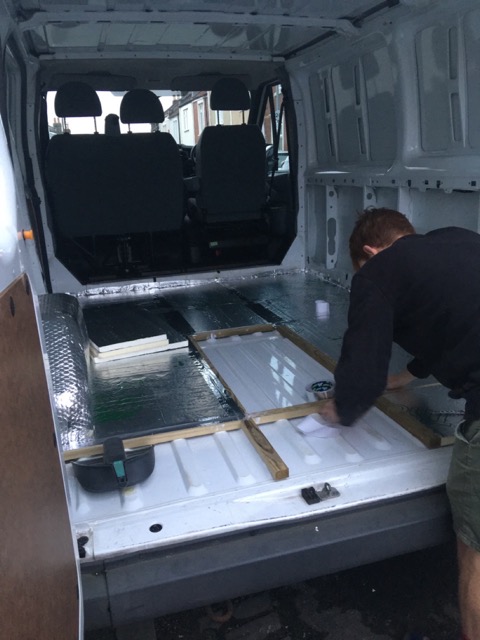
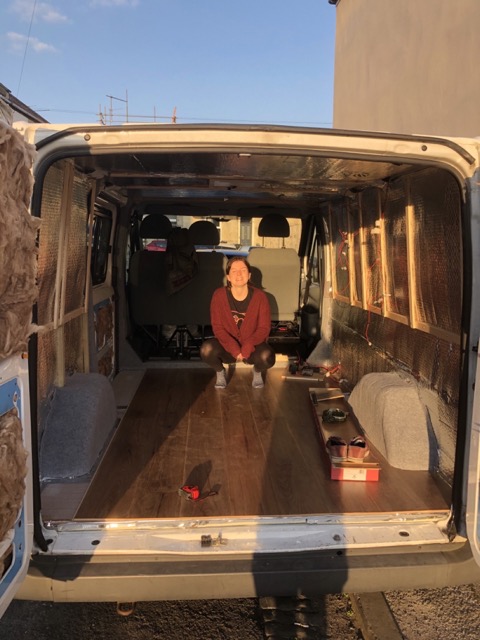
5. Flooring, cladding and electrics board
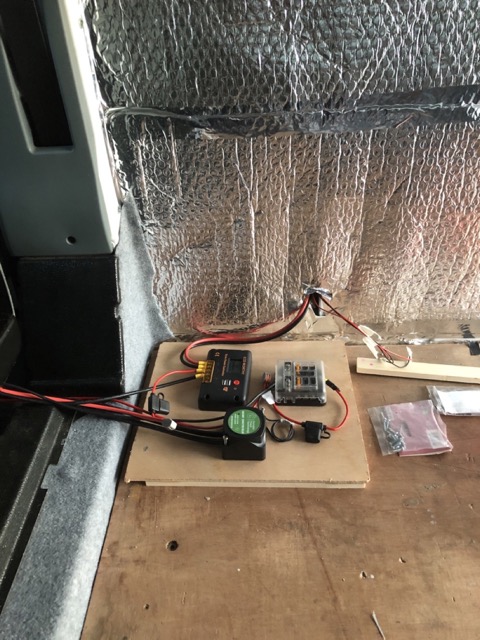
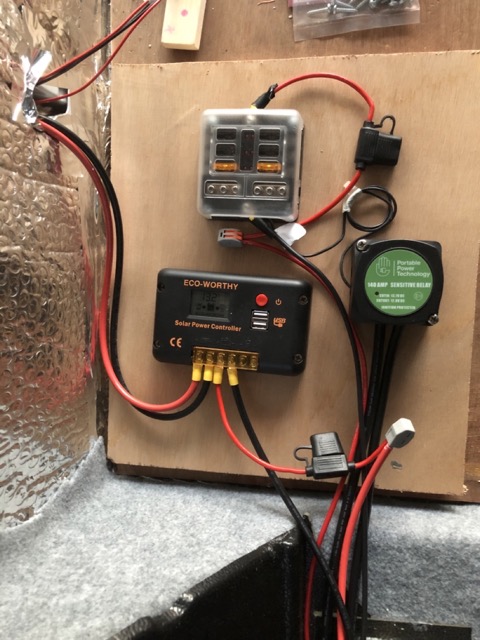
- Wired up all electrics for what was fitted so far to a 'draft' electrics board. This included fuse box, VSR and solar controller.
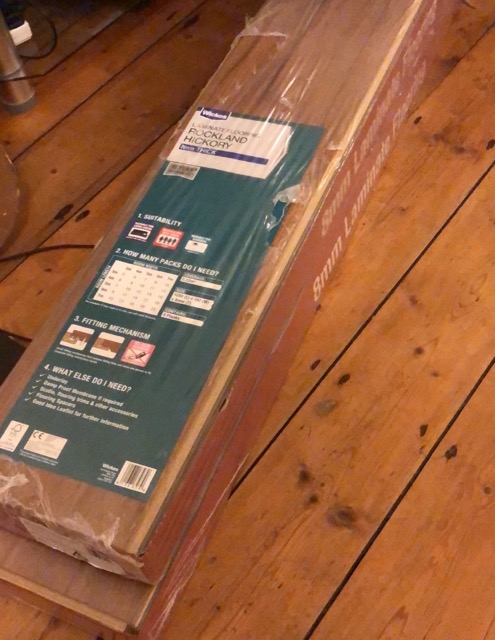
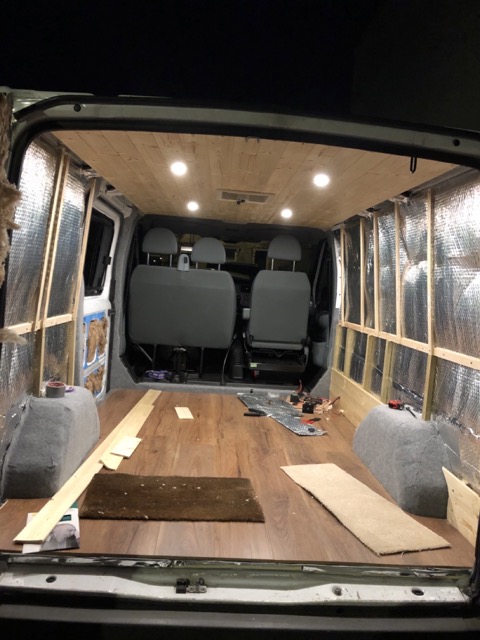
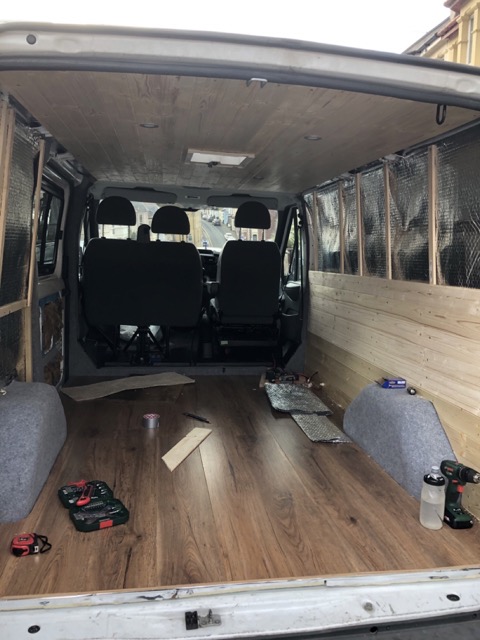
- Taped down underlay over the plywood subfloor, and laid tongue and groove flooring over the top (oo Rockland Hickory yummm).
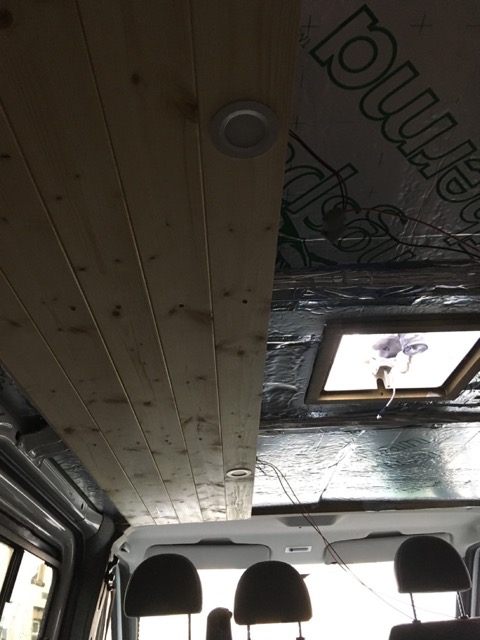
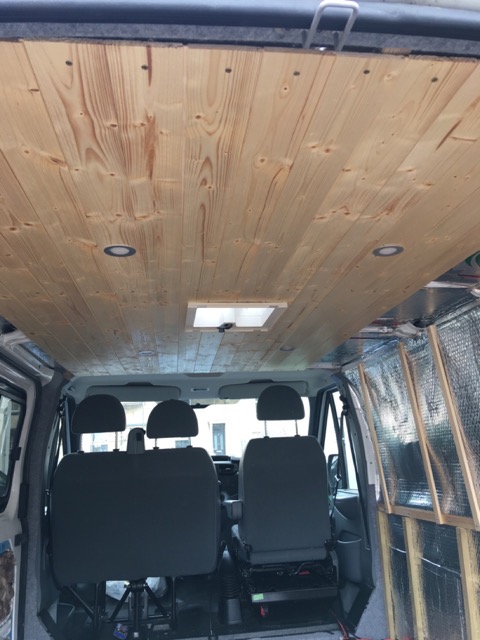
- Stained then attached the pine ceiling cladding, fitting the recessed lights as we went.
- Attached the bottom half of the roof vent.
- Cladded the right hand wall and top half of the left hand wall with the same wood, then stained in-place.
- Used some of the original plywood, sanded down and wrapped in carpet lining, for the bottom half of the left hand wall (as it's covered by the storage cupboard).
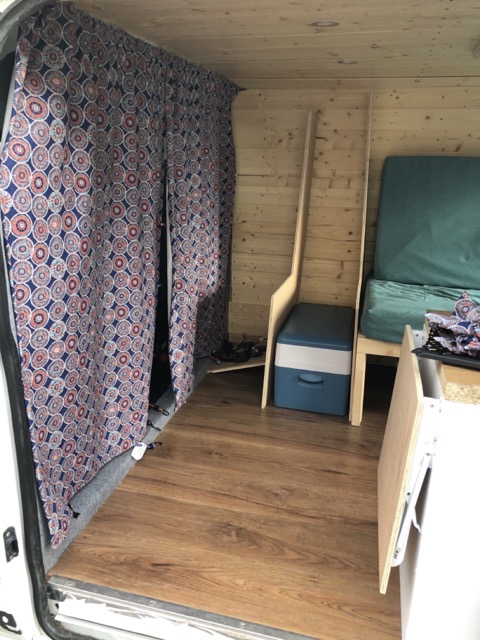
6. Bed (+interlude)
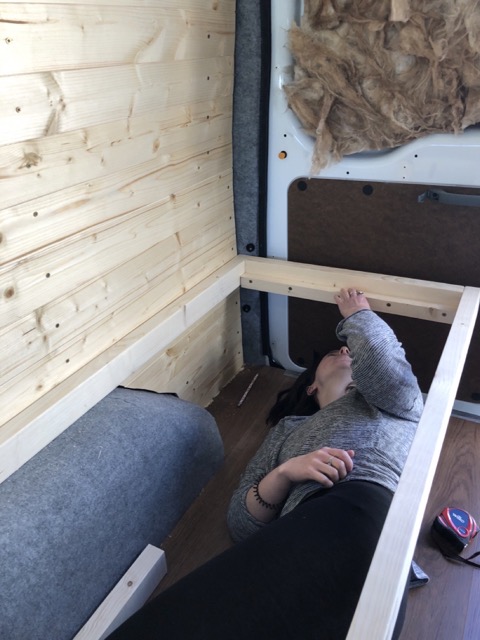
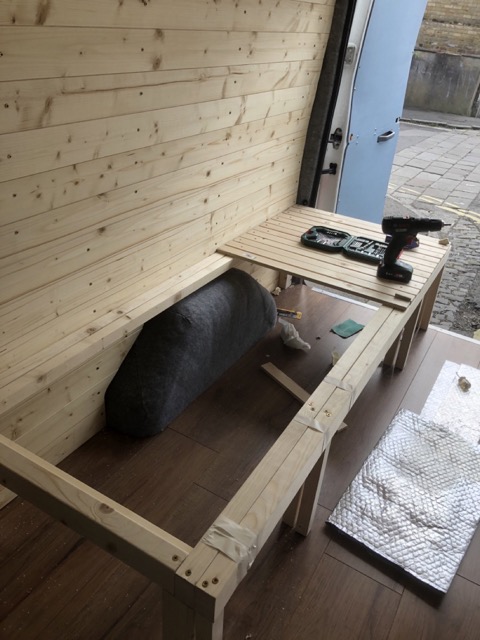

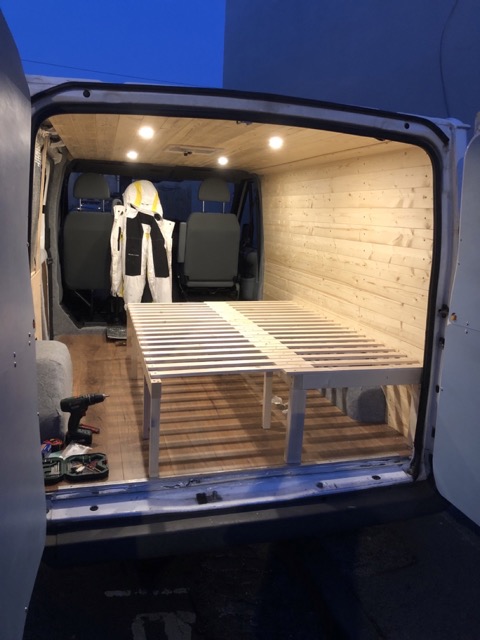
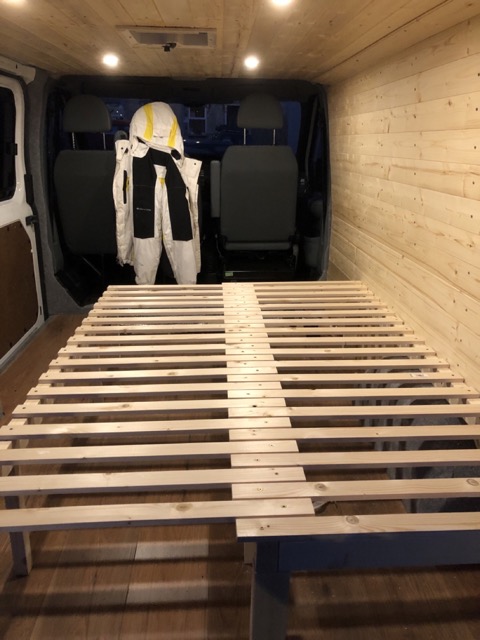
- Built the sliding bed frame (shout-out to Mel for the design.) and attached it to the wall and floor.
- Took a break from working on the van to take it on its INAUGERAL TOUR.
- We took the mattress off the fouton and went on an overnighter in Stroud, parking over the road from Winstone's Ice Cream wooo good times!
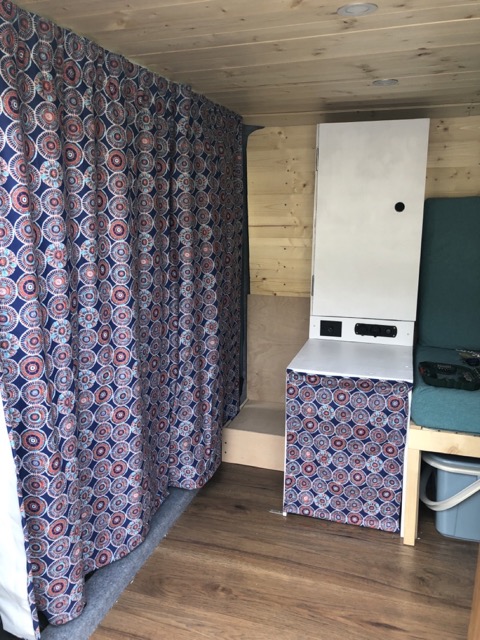
7. Wardrobe and kitchen
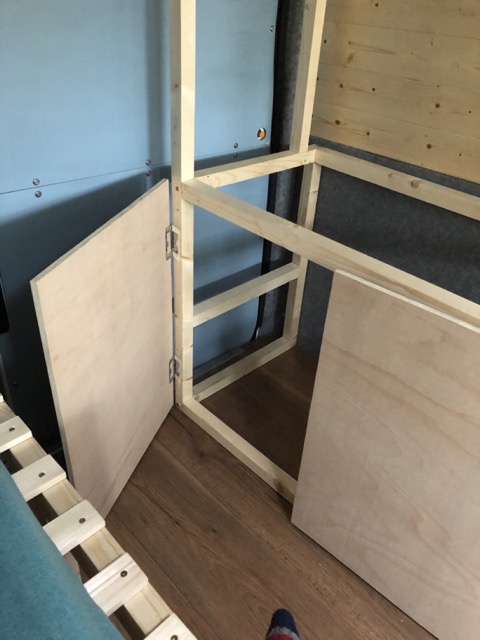

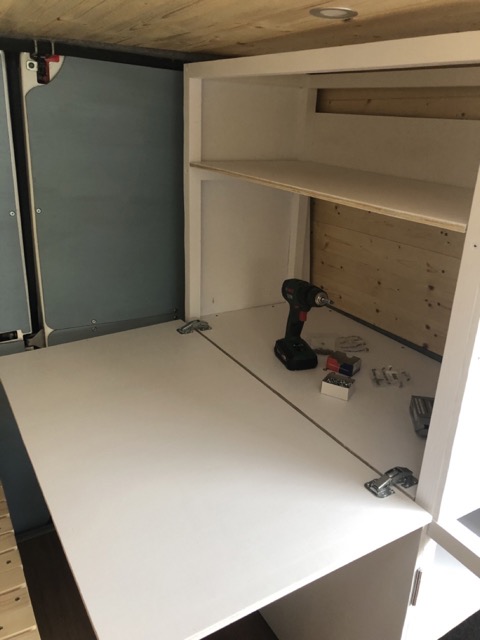
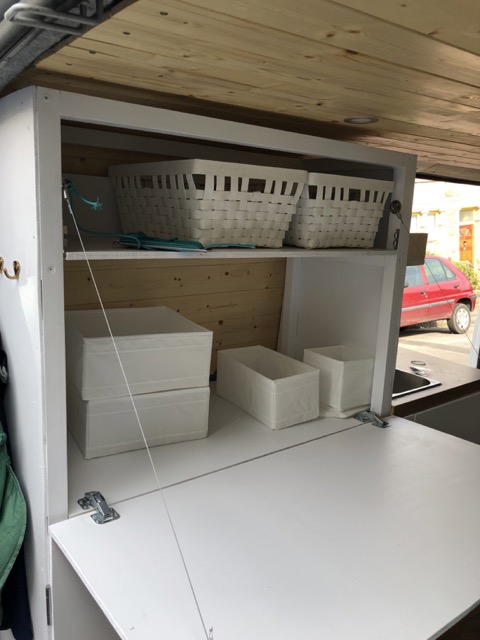
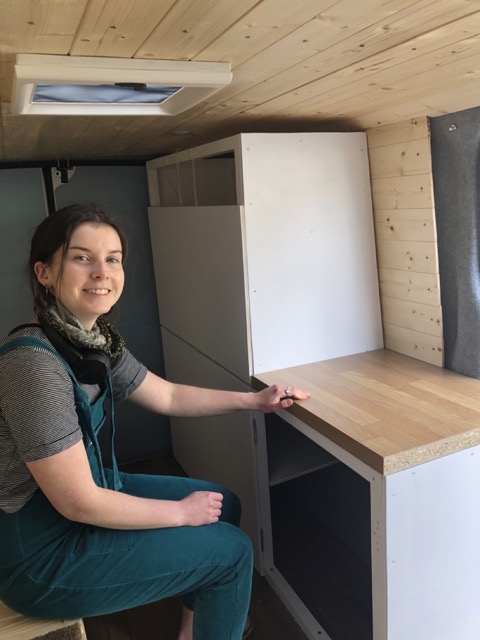
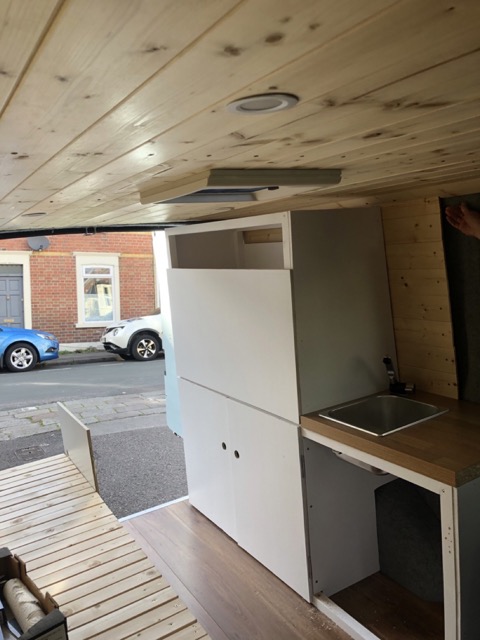
- Built a multi-purpose cupboard unit that functions as a wardrobe, kitchen/food storage, sink area and pull-down table.
- The frame was made using stick batons with basic joins.
- The left hand section had 3 shelves, with shelves and doors using 12mm plywood.
- The pull-down table was attached at the bottom with two sprung hinges, and at the top with two ball catches. It's supported when open by steel wire.
- Used flush hinges (see Peter's video for source) and magnetic latches for the doors.
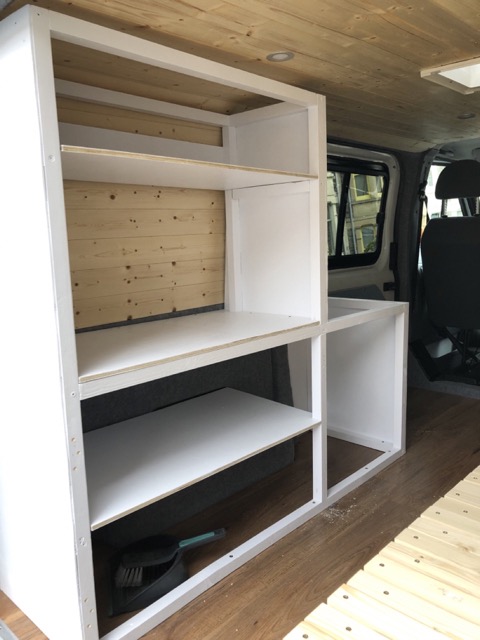
- Painted everything white, and attached the cupboard to the floor and wall.
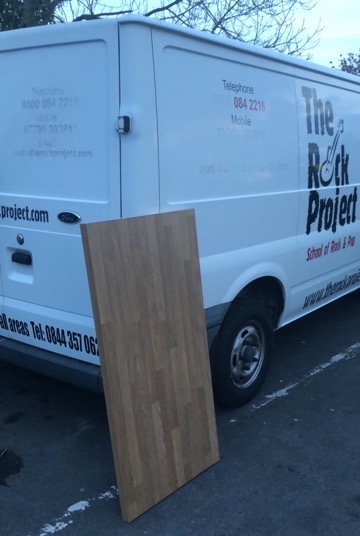
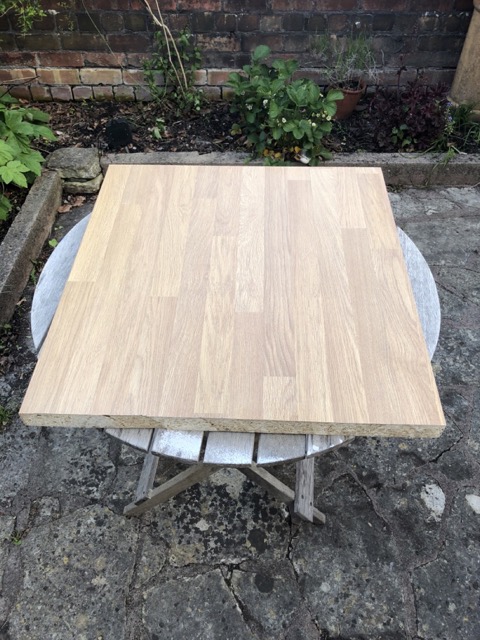
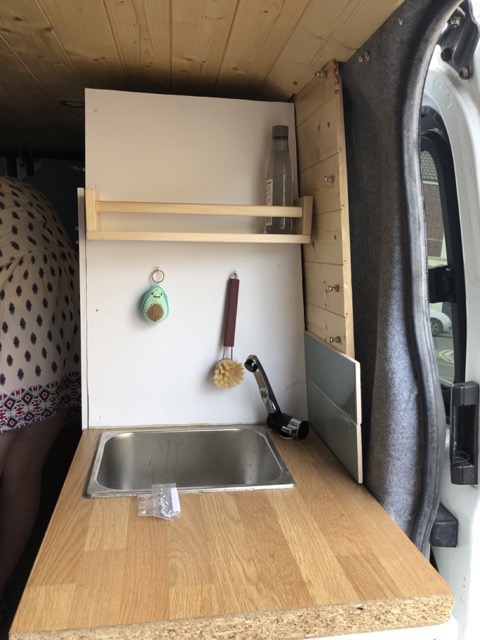
- Cut a section from an oak-effect counter top for the kitchen area.
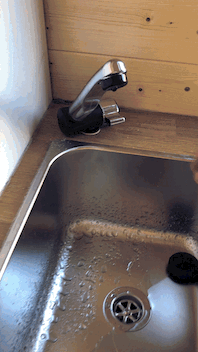
- Installed a sink and tap, and connected to a 12V pump, 20L fresh-water tank and 10L waste-water tank, stored in the space below.
- Attached the COMPULSORY spice rack to the cupboard above the kitchen area.
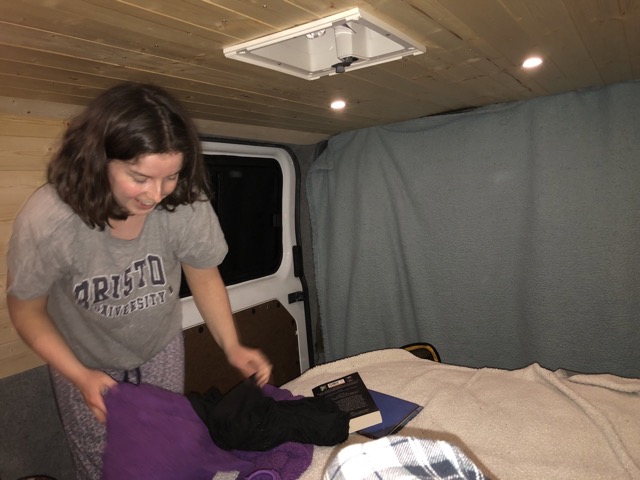
8. Cushions, curtains and fridge cupboard (+other bits)
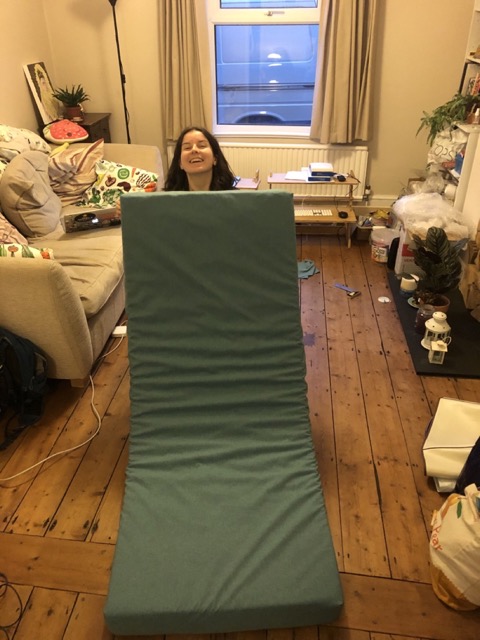
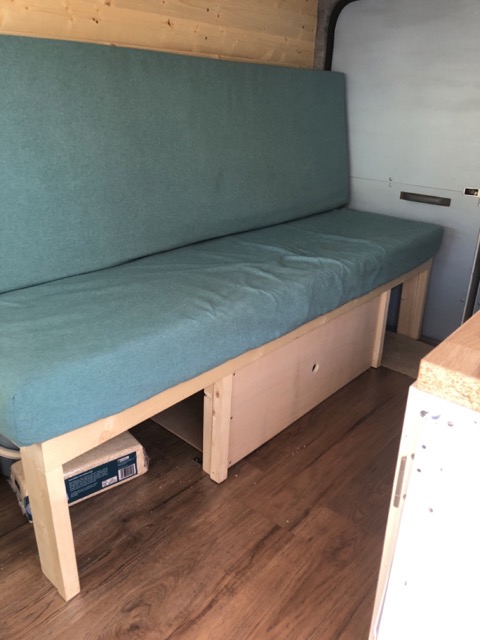

- Bought mattress foam, and cut to shape for the sofa/bed cushions.
- Sourced material and sewed cushion covers with a zipped opening.
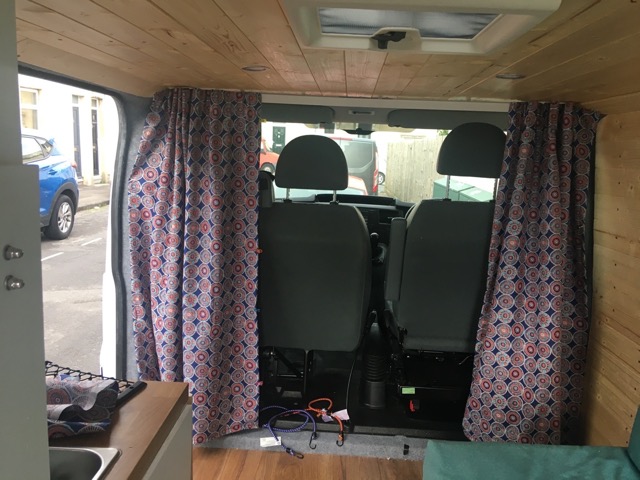
- Attached a curtain rail above the cab seats.
- Sourced and cut material for curtains. Attached blackout backing and curtain tape, and fitted to curtain rail.
- Magnets were sewn into the curtain lining on the outer edges so there'd be no gap to the walls.
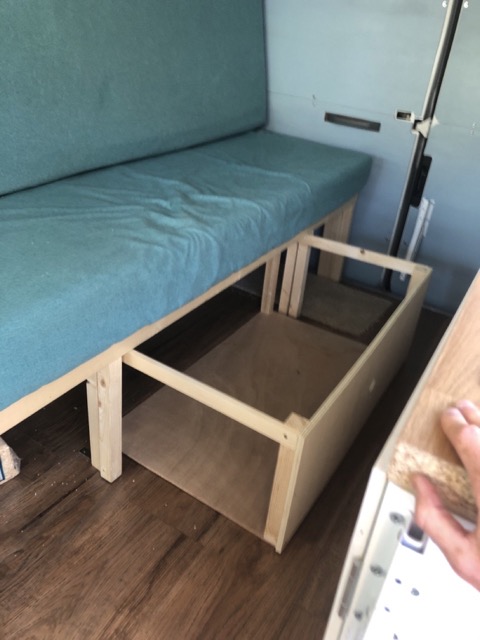
- Built a large bedding storage box from plywood and batons to fit under the sliding bed.
- Sanded down and painted the original plywood door covers, and attached to doors to cover the insulation.
- Attached fold-out tables (wall brackets + stained 12mm ply wood) to the rear left-hand door (used for cooking) and next to the sink area (used for washing up).
- Built a second smaller cupboard using the same technique as the first.
- In its base is a 12V fridge, with a fabric cover made from the same material as the curtains.
- In its middle are a dimmer switch for the lights, USB and 12V charging ports and a voltage meter.
- Above this are three small shelves for additional storage.
- Finally, the electrics board was re-shaped to fit to the remaining space behind the cab.
- An enclosure was built for it, and behind some protective plywood was installed to allow bikes to be stored behind the seats without marking the cladding.
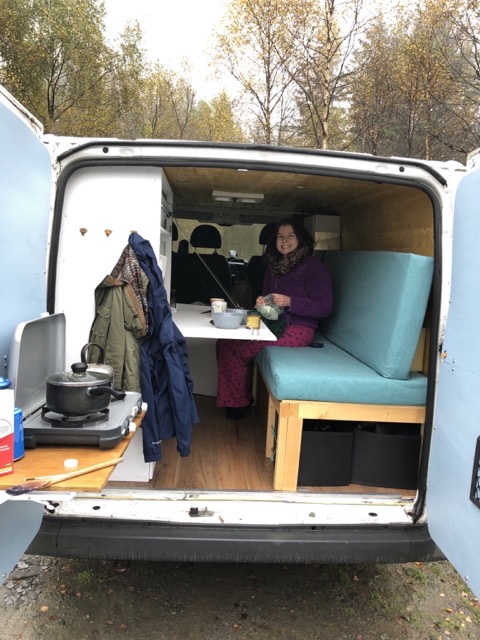
This build took 6 months, finishing in June 2021. The process was stressful, rewarding, and Lily got some metal stuck in her eye. But the result has been a source of joy, with many trips taken and hopefully many more to come. Thanks to Matt from @therockprojectbristol for the van!